さくっとWSL2 + Docker + VSCode Remote - Containers でNode.jsが動く開発環境を構築する(devcontainer.jsonは自動生成する)
以前、VSCode Remote -Containers を使ってDockerコンテナにアクセスする方法を記事に書いた。
しかし上記記事ではdevcontainer.jsonを手書きする必要があった。
今回は、devcontainer.jsonを用意せず、Dockerfileのみ用意してコンテナにアクセスする方法を記載する。
目次
前提
- WSL2
- Docker 20.10.0
- VSCode Remote -Containers
ローカルにDockerfileを作成する
$ mkdir /home/<ユーザ>/workspace/my-project
$ cd /home/<ユーザ>/workspace/my-project
$ touch Dockerfile
- Dockerfileの中身を書く
Node.jsを使えればいいので、これだけ
FROM node:lts
VSCode Remote - Containers でDockerコンテナを生成・アクセスする
- VSCode を起動する
$ cd /home/<ユーザ>/workspace/my-project
$ code .
- 下記が起動することを確認(左下が
WSL:Ubuntuとなっている)

- VSCodeを開いている状態で、キーボードで
Ctrl+Shift+Pを押します。 - すると、画面左上にコマンドパレットが表示されます。
- パレットに
Reopen in Containerと入力します。入力中に候補が表示される場合があります。 Reopen in Containerが表示されたら、それを選択します。これで、VSCode Remote - Containers がコンテナを自動的に検出し、開いているディレクトリをコンテナ内で開く準備が完了します。

Dockerfile を選択
From 'Dockerfile'を選択

- 下記の通り、DockerコンテナにアクセスしたVSCodeが新たに起動すればOK
- 左下に
Dev Container:と表示されればOK。
- 左下に

- devcontainer.jsonが自動生成されていることを確認
.devcontainer/devcontainer.json
// For format details, see https://aka.ms/devcontainer.json. For config options, see the README at:
// https://github.com/microsoft/vscode-dev-containers/tree/v0.154.0/containers/docker-existing-dockerfile
{
    "name": "Existing Dockerfile",

    // Sets the run context to one level up instead of the .devcontainer folder.
    "context": "..",

    // Update the 'dockerFile' property if you aren't using the standard 'Dockerfile' filename.
    "dockerFile": "../Dockerfile",

    // Set *default* container specific settings.json values on container create.
    "settings": {
        "terminal.integrated.shell.linux": null
    },

    // Add the IDs of extensions you want installed when the container is created.
    "extensions": []

    // Use 'forwardPorts' to make a list of ports inside the container available locally.
    // "forwardPorts": [],

    // Uncomment the next line to run commands after the container is created - for example installing curl.
    // "postCreateCommand": "apt-get update && apt-get install -y curl",

    // Uncomment when using a ptrace-based debugger like C++, Go, and Rust
    // "runArgs": [ "--cap-add=SYS_PTRACE", "--security-opt", "seccomp=unconfined" ],

    // Uncomment to use the Docker CLI from inside the container. See https://aka.ms/vscode-remote/samples/docker-from-docker.
    // "mounts": [ "source=/var/run/docker.sock,target=/var/run/docker.sock,type=bind" ],

    // Uncomment to connect as a non-root user if you've added one. See https://aka.ms/vscode-remote/containers/non-root.
    // "remoteUser": "vscode"
}
- カレントディレクトリが
/workspace/my-projectになっていることを確認

Node.jsが動くか動作確認
- ためしに、VSCodeのTERMINALから、
create-next-appを実行して動作確認する
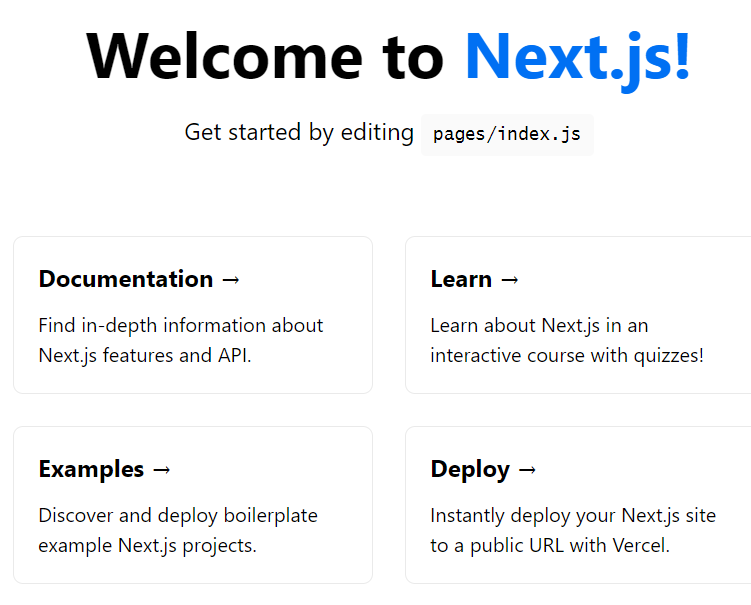
$ npx create-next-app nextjs-blog --use-npm --example "https://github.com/vercel/next-learn-starter/tree/master/learn-starter"
$ cd nextjs-blog
$ npm run dev
- ブラウザに下記が表示されればOK
おわりに・余談
- この方法の良い点
- 変更した方が良い点
- その他
- VSCodeを終了すると、コンテナも終了します。
以上。